Cub3d
Introduction:
You can access to project codes on Github
The Cub3D project is a 3D game project that is part of the curriculum for the 42 coding school. It’s inspired by the classic first-person shooter game Wolfenstein 3D, is an excellent way to learn and practice computer graphics programming, specifically ray-casting. In this blog post, we will provide a step-by-step guide on how to develop your own cub3D project using the C programming language and the miniLibX library.
You can access the project topic here
Step 1: Setting Up Your Environment
First, ensure you have a compatible development environment.
You will need:
- A C compiler, such as GCC
- The miniLibX library, which can be downloaded from the 42 school’s website
Step 2: Understanding the Basics of Ray-Casting
Ray-casting is a technique used to create a 3D perspective in a 2D environment. It involves casting rays from the player’s position to the walls and calculating the distance to them. The distance to the walls is then used to determine their height on the screen. Familiarize yourself with this concept before proceeding.
Step 3: Creating the Game Loop
Start by setting up a game loop that will handle rendering and user input. The loop should consist of the following steps:
- Handle user input (e.g., moving forward, backward, turning left or right)
- Update the player’s position and direction
- Clear the screen
- Perform ray-casting to render the scene
- Update the screen with the rendered scene
Step 4: Handling User Input
Using the miniLibX library, set up event-driven programming to handle keyboard input for player movement and interaction. Typical key bindings include W, A, S, and D for forward, left, back, and right movements, and arrow keys for rotating the view.
Step 5: Implementing Ray-Casting
Implement the ray-casting algorithm by following these steps:
Calculate the initial ray direction for each vertical column on the screen.
- Determine which grid cell the ray intersects first.
- Traverse the grid cells using DDA (Digital Differential Analysis) algorithm until a wall is hit.
- Calculate the distance from the player to the wall.
- Determine the wall height on the screen based on this distance.
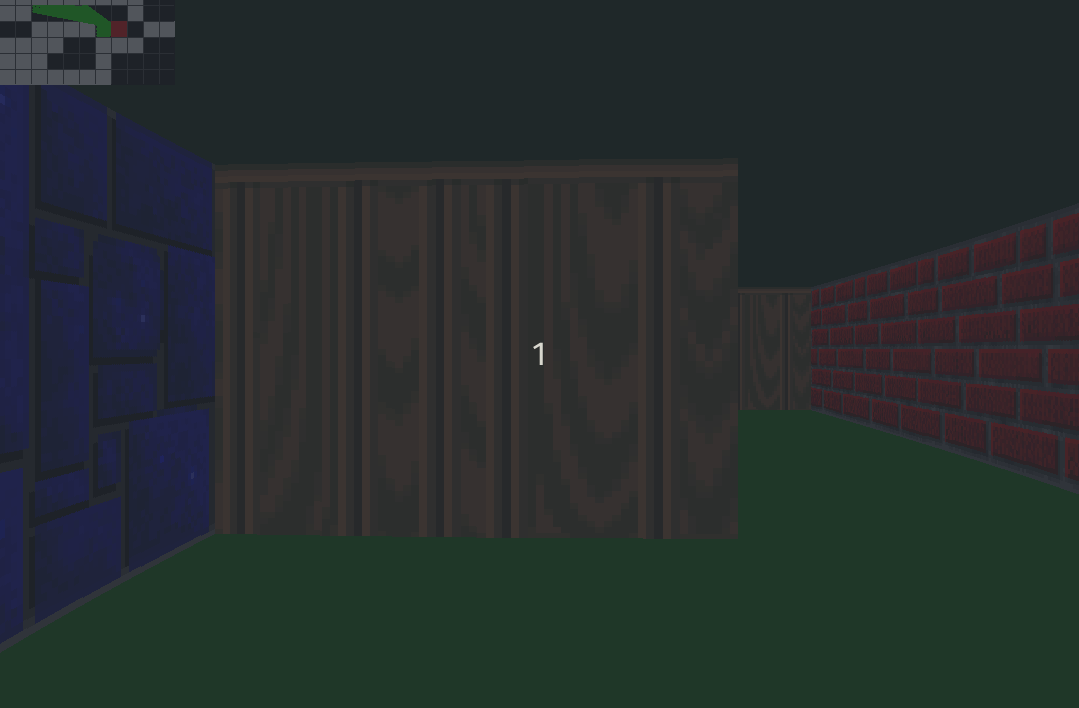
Step 6: Adding Textures and Sprites
To enhance the visual appeal of your cub3D project, apply textures to the walls and add sprites for objects and enemies. Load textures using miniLibX and map them to the walls during the ray-casting process. For sprites, calculate their position relative to the player, sort them by distance, and render them on the screen.
Conclusion:
Developing the Cub3D project is a great way to learn about game development and graphics programming. By following these steps, you can create a basic 3D game engine that is capable of rendering textured walls, sprites, and a simple game world. While the project may seem challenging at first, with some patience and dedication, you can develop a functional game engine that you can be proud of.